

Firmware Setup
This page covers cloning the firmware repository and verifying that PlatformIO can find and configure the project. Make sure you have already installed PlatformIO as described in the Software Prerequisites page.
Clone the Repository
Section titled “Clone the Repository”Open a terminal and clone the firmware repository:
git clone https://github.com/AndrewLemons/sensor-net-firmware.gitcd sensor-net-firmwareOpen in VS Code with PlatformIO
Section titled “Open in VS Code with PlatformIO”If you are using the PlatformIO VS Code extension:
- Open VS Code.
- Click File > Open Folder and select the
sensor-net-firmwaredirectory. - PlatformIO should automatically detect the project from the
platformio.inifile. You will see the PlatformIO toolbar appear at the bottom of the window. - The first time you open the project, PlatformIO downloads the ESP32 board support package and all required libraries. This may take a few minutes.
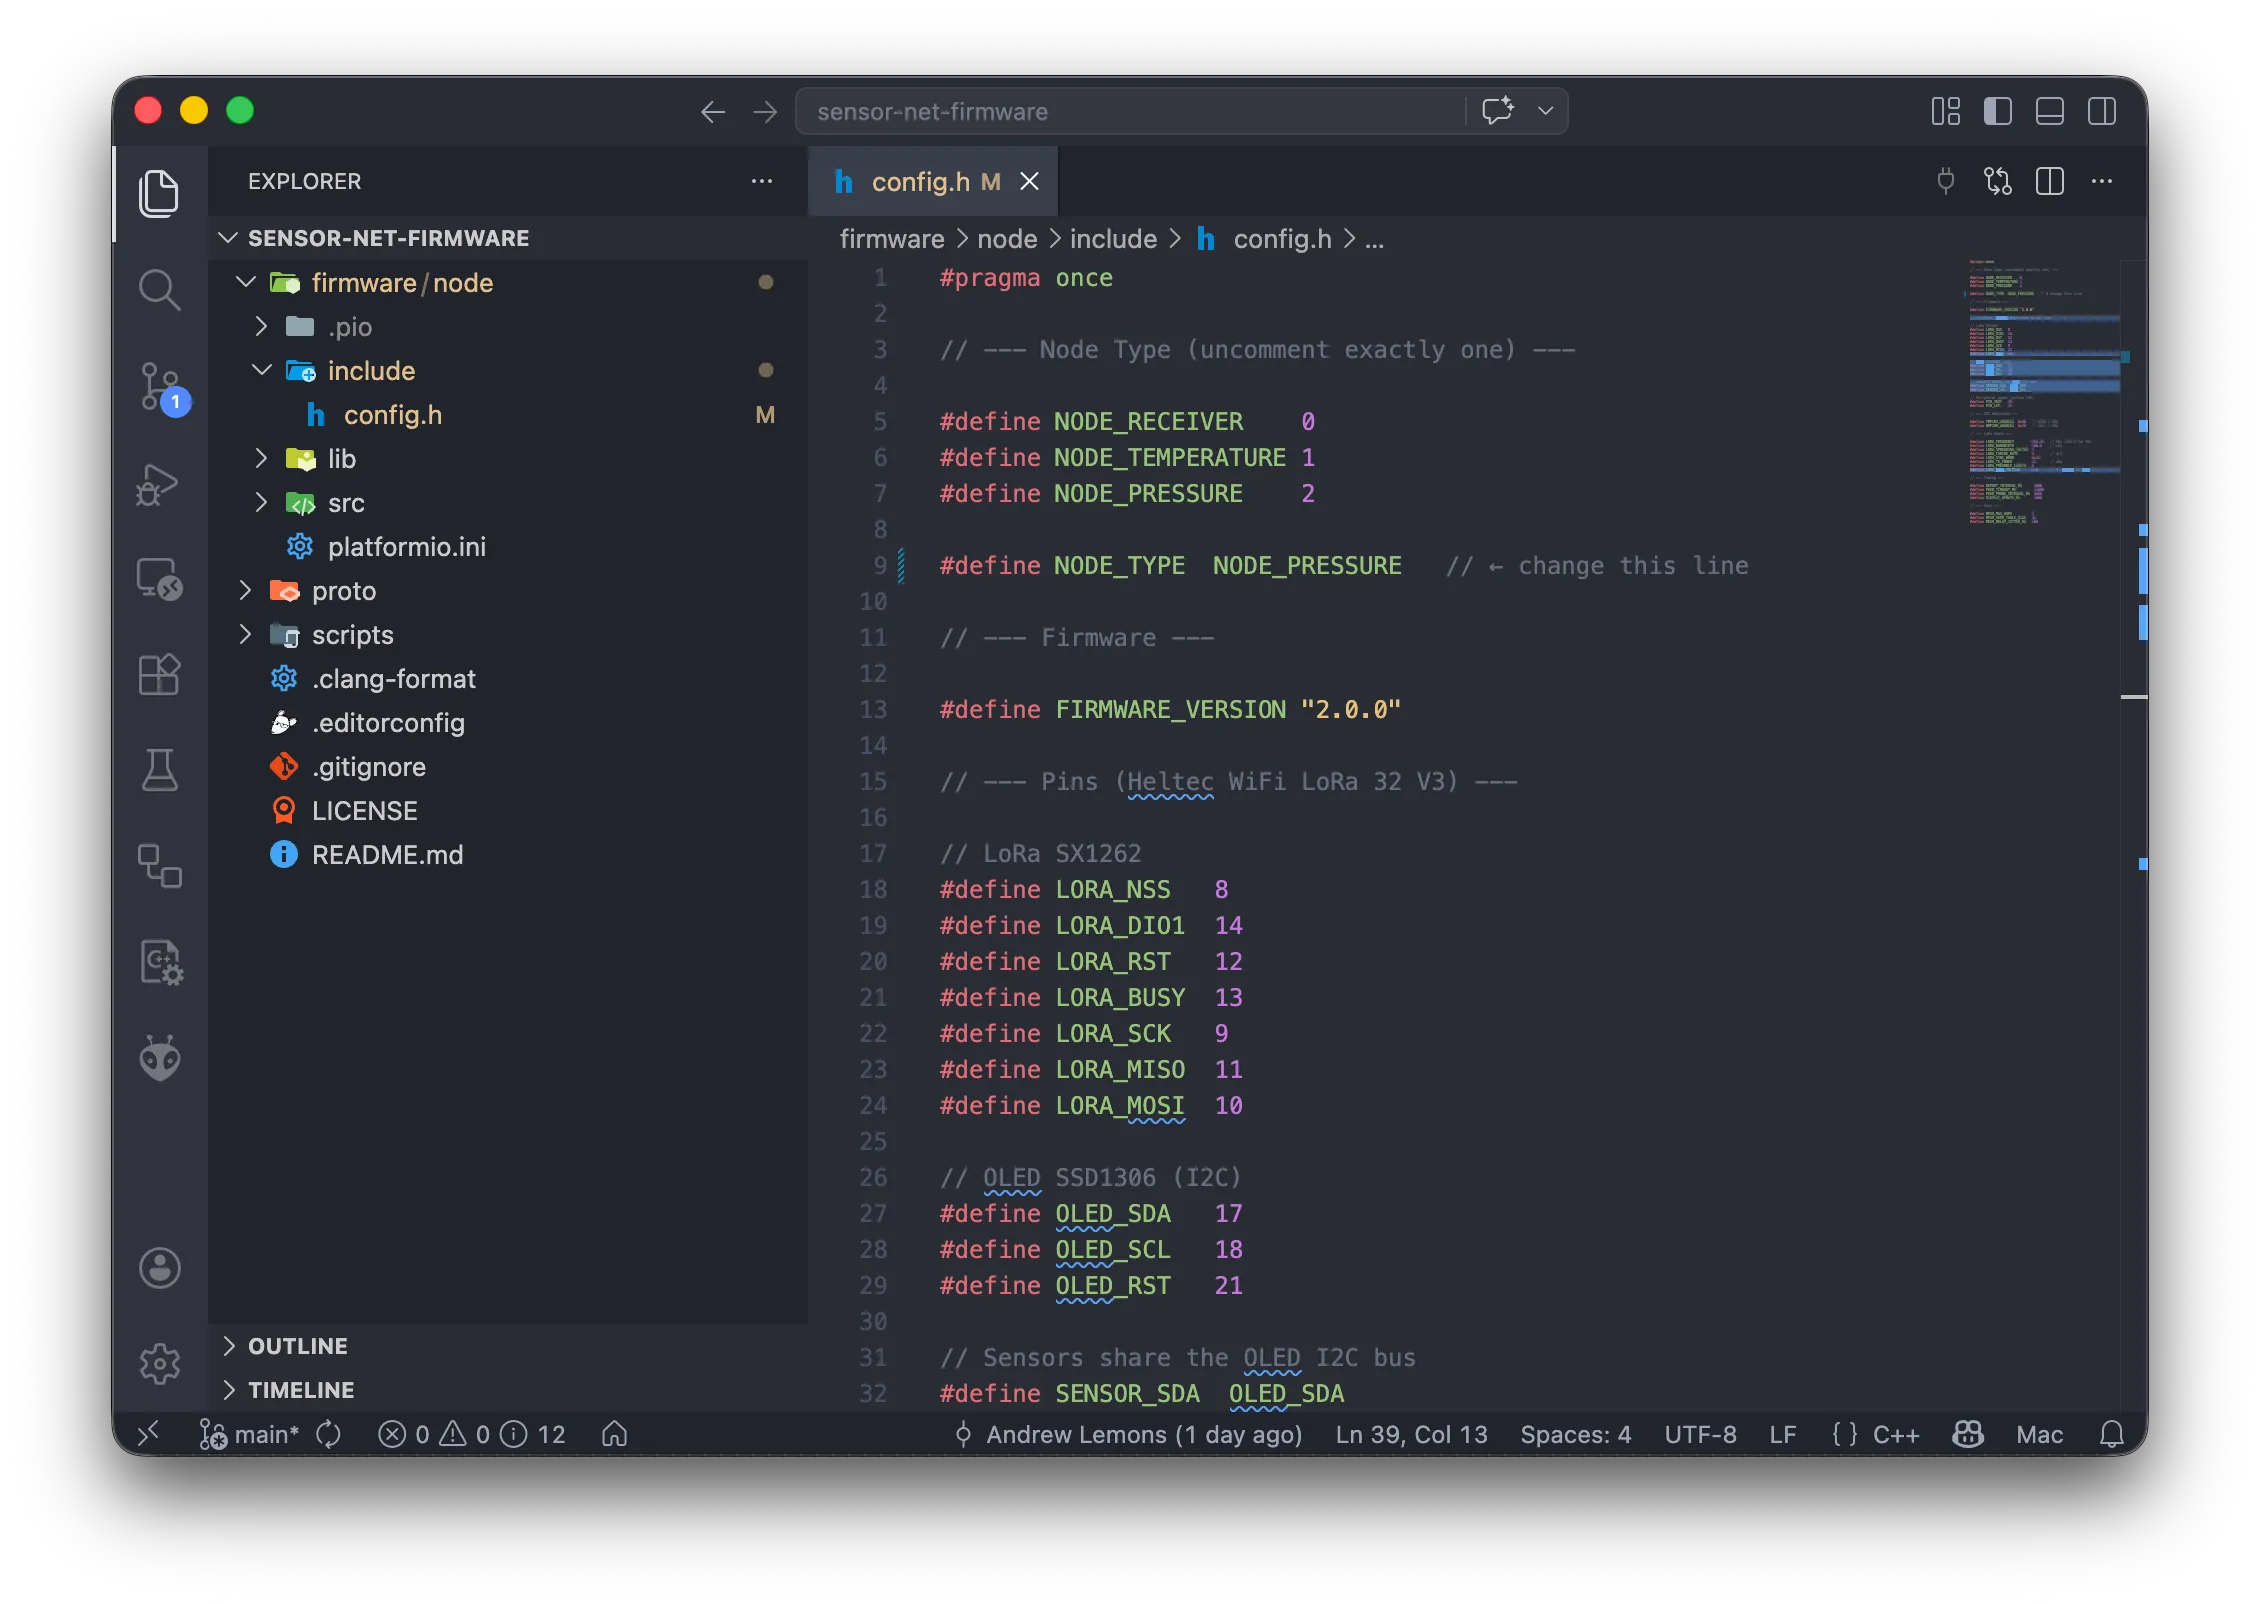
If you are using the PlatformIO CLI instead:
cd firmware/nodepio pkg installThis downloads all dependencies listed in platformio.ini.
Project Layout
Section titled “Project Layout”After cloning, the firmware directory is structured as follows:
sensor-net-firmware/ proto/ messages.proto # Protobuf message definitions (source of truth) messages.options # Nanopb options (max string lengths, etc.) scripts/ generate_proto.sh # Script to regenerate C bindings from .proto firmware/node/ platformio.ini # Board, framework, and library configuration include/ config.h # All build-time settings (node type, radio, timing) src/ main.cpp # Firmware entry point (setup and loop) lib/ proto/ # Generated protobuf C code RadioManager/ # LoRa radio abstraction MeshRouter/ # Mesh relay logic PeerTracker/ # Active peer tracking (receiver only) DisplayManager/ # OLED display driver Sensor/ # Sensor interface and drivers (TMP102, BMP280)The file you will edit most often is include/config.h — it contains every setting you need to change before flashing a node.
Verify the Toolchain
Section titled “Verify the Toolchain”To confirm everything is installed and configured correctly, try compiling without flashing. First, make sure config.h is set to any valid node type (the default is fine for verification). Then run:
cd firmware/nodepio runIf this completes without errors, your toolchain is ready. The first compilation takes longer because PlatformIO downloads and caches the compiler toolchain for the ESP32-S3.
If you see errors about missing board definitions or libraries, try:
pio pkg updateThis forces PlatformIO to re-download any missing packages.
Next Step
Section titled “Next Step”Now configure the firmware for your first node in the Configuration page.